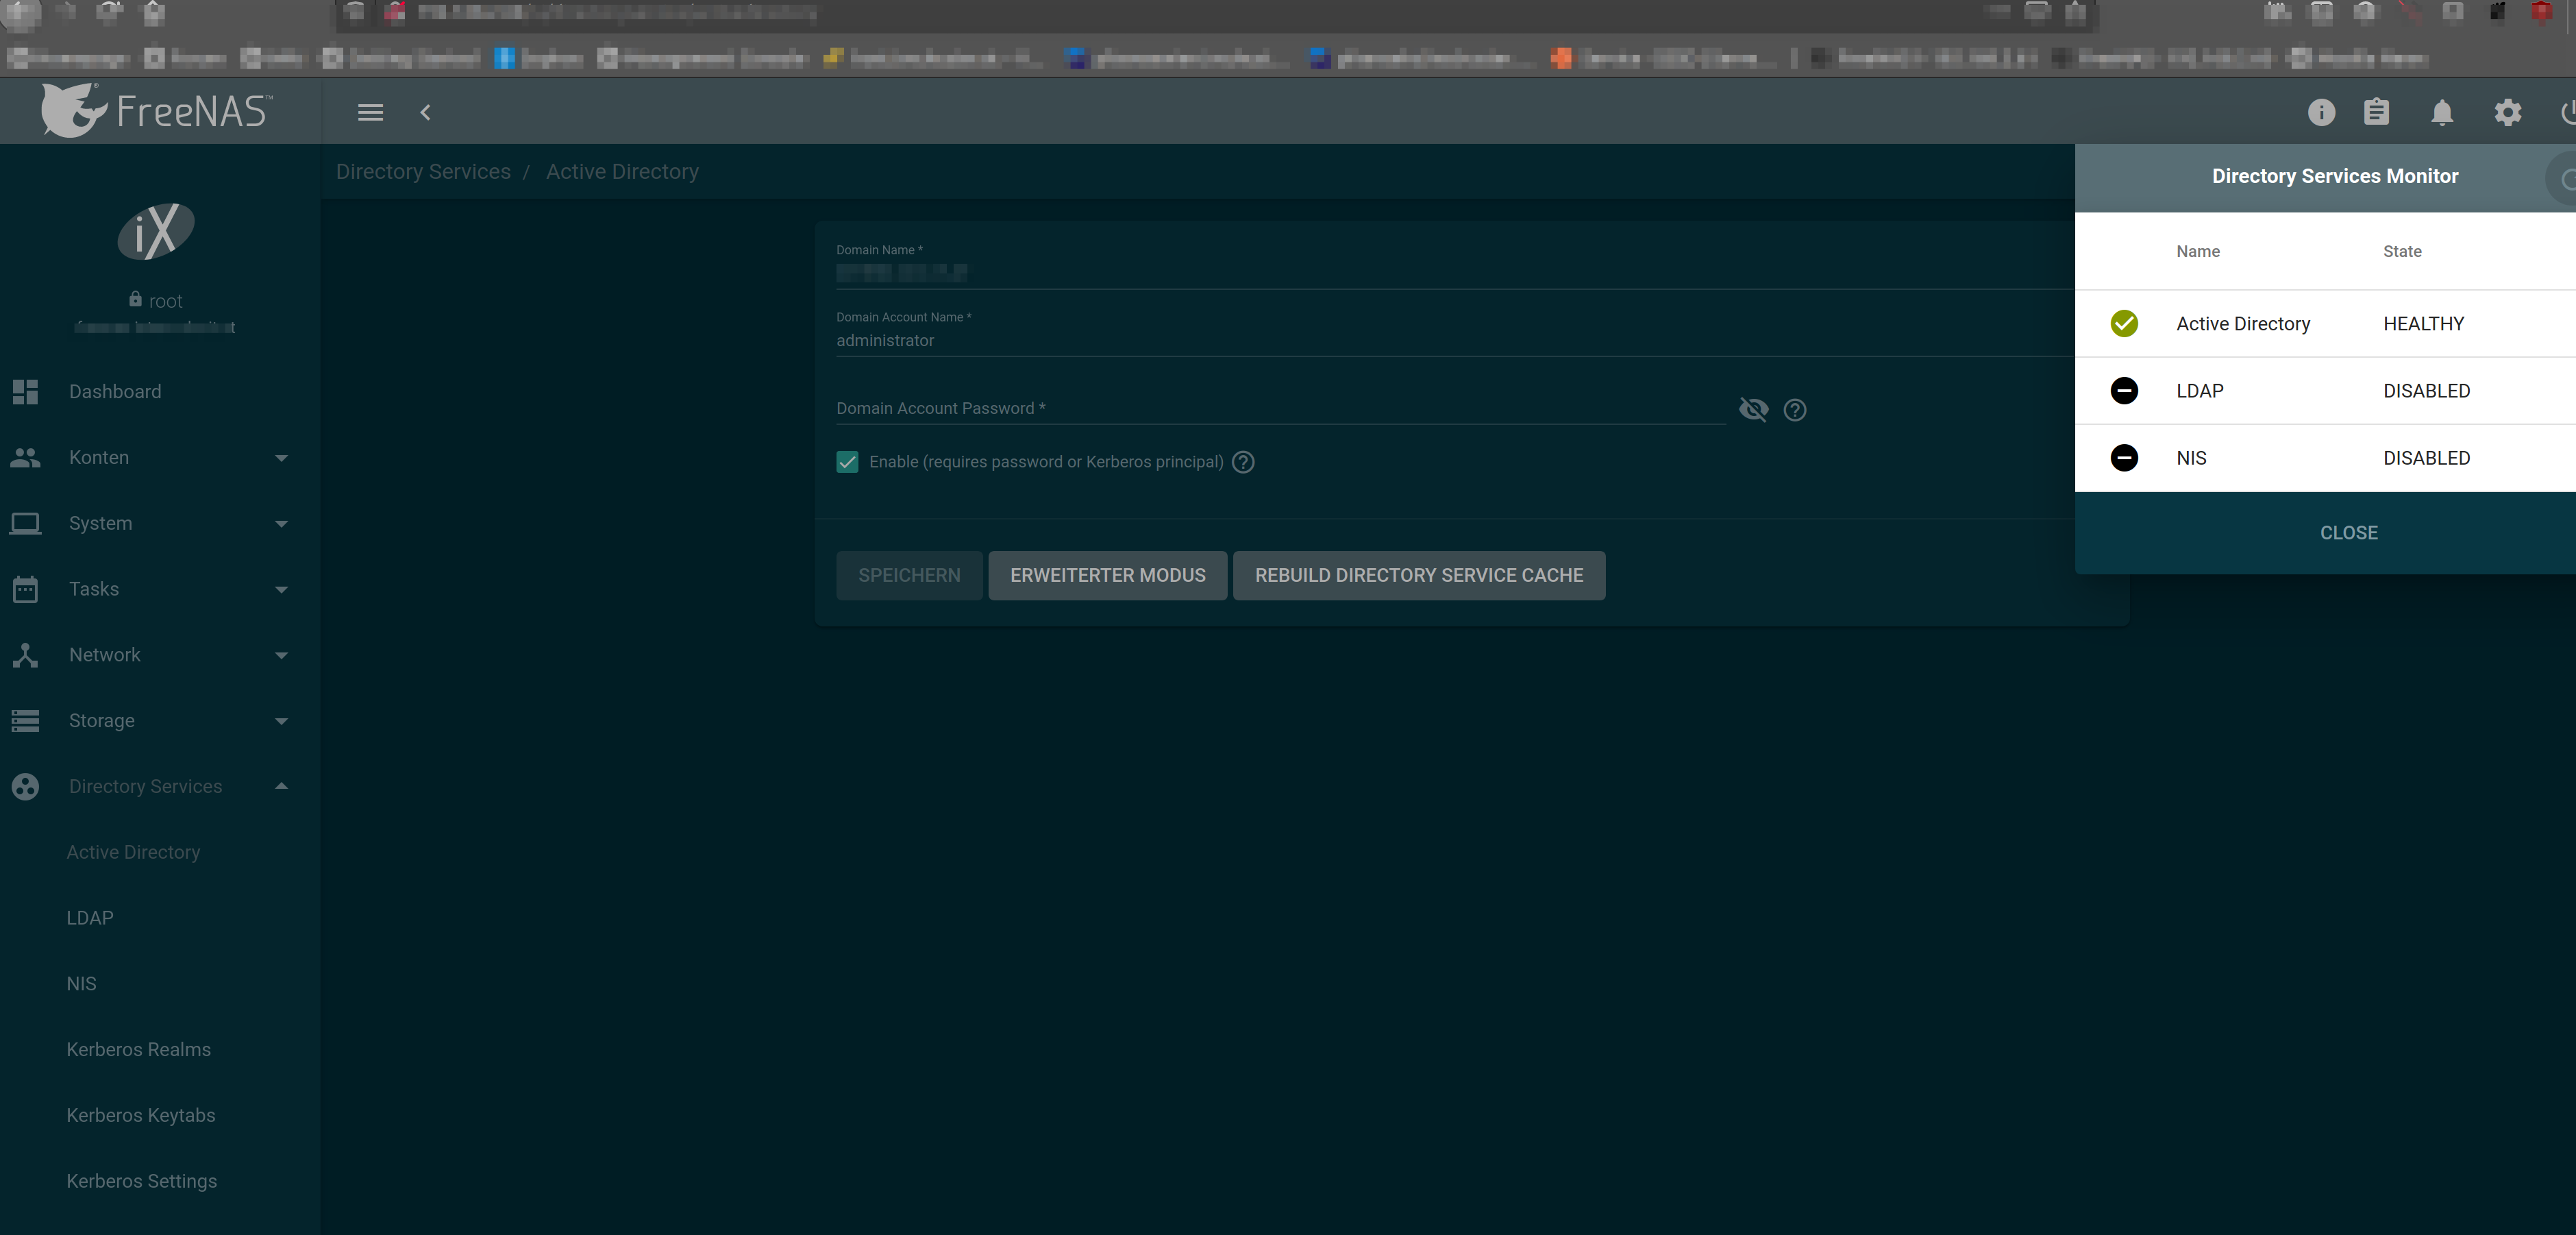
Solution: For some reason that is likely on FreeNAS‘s side, just joining a UCS Active Directory in the basic mode does not always work reliably. Here are the steps that I found to be necessary to successfully join FreeNAS into a UCS AD.
Preparation: I strongly suggest to back up your configuration before you proceed, as a failed joining attempt might brick the FreeNAS’s Directory Services, an issue in my brief experience easiest resolved by rolling back to the previous config.
0.[Recommended] System → General → Save Config
1.Network → Global Configuration
1.a Set Hostname to your preferred hostname e.g. “freenas”.
1.b Set Domain to your domain e.g. “example.com”.
1.c Set Nameserver 1 to your DC’s IP.
Expected Results: Your FreeNAS’s FQDN = something resembling freenas.example.com.
You can ping your DC with e.g. “ping example.com”
2.System → NTP
2.a Set Your preferred or sole NTP to either your DC’s IP, or another DC-synchronous NTP.
Expected Results: Both FreeNAS and DC share the same time.
3.Directory Services → Active Directory
3.a Trying the simple Joining: Enter the following information into the corresponding fields if present: domain e.g. example.com; user e.g. nasconnector or administrator; the corresponding password to your chosen domain user e.g. P4ssw0rd.
3.b Press Save and be patient, the process of joining a Directory might take 1-10 minutes and should under no circumstances be aborted. A semi-joined Active Directory might brick your FreeNAS’s Directory Services.
3.c You should now be part of the domain. If so inclined you can toggle on the Encryption under Advanced settings after your Joining is done. The following steps are of no interest to you, if you managed to join successfully.
IF Joining the domain failed:
4.System → General → Upload Config
4.a Here you will need to Upload your previously downloaded configuration to reset your FreeNAS to its previous state.
4.b Follow steps 1 and 2, ensure that all expected results are being accomplished.
5.Directory Services → Active Directory → Advanced Mode
5.a Fill in the corresponding information regarding Domain Name, Domain Account Name and Domain Account Password.
5.b Set the following options if not already set:
| Variable |
Value |
Comment |
| Encryption Mode |
OFF |
Can be switched to ON after the initial joining is complete. |
| Certificate |
[EMPTY] |
|
| Validate Certificates |
YES (Checked) |
|
| Verbose logging |
NO (Unchecked) |
Can be changed to YES for further troubleshooting. |
| Allow Trusted Domains |
NO (Unchecked) |
|
| Use Default Domain |
NO (Unchecked) |
|
| Allow DNS Updates |
YES (Checked) |
|
| Disable FreeNAS Cache |
YES (Checked) |
Can (usually) be switched to ON after the initial joining is complete. |
| Site Name |
Default-First-Site-Name |
Should be standard. |
| Kerberos Realm |
EMPTY |
|
| Kerberos Principal |
EMPTY |
|
| Computer Account OU |
EMPTY |
If empty, the FreeNAS should join as a Member Server in the UCS AD. |
| AD Timeout |
60 |
Should be standard, can be changed to preference. |
| DNS Timeout |
10 |
Should be standard, can be changed to preference. |
| Idmap |
RID |
Should be standard. |
| Winbind NSS Info |
Empty |
Should be standard. |
| SASL wrapping |
SIGN |
|
| Enable |
YES (Checked) |
|
| Netbios Name |
Something resembling your machine e.g. freenas |
|
| NetBIOS alias |
Empty |
|
5.c Press Save and be patient, the process of joining a Directory might take 1-10 minutes and should under no circumstances be aborted. A semi-joined Active Directory might brick your FreeNAS’s Directory Services.
5.d You should now be a member of the UCS’s Active Directory. If necessary you can now set the post setup settings like FreeNAS Cache and SSL.
6.If this failed, check that FreeNAS actually saved your AD-configuration using the “midclt call activedirectory.config | jq” command in the shell.
Your Config should look something like this :
{
“id”: 1,
“domainname”: “EXAMPLE.COM”, #Here_your_domain
“bindname”: “nasconnector”, #Here_the_domain_user
“bindpw”: “P4ssw0rd”, #Here_the_doamin_users_password
“ssl”: “OFF”, #Possibly_change_after_initial_connection
“certificate”: null,
“validate_certificates”: true,
“verbose_logging”: false,
“allow_trusted_doms”: false,
“use_default_domain”: false,
“allow_dns_updates”: true,
“disable_freenas_cache”: true, #Possibly_change_after_initial_connection
“site”: “Default-First-Site-Name”,
“kerberos_realm”: 1,
“kerberos_principal”: “”,#Empty_in_my_setup
“createcomputer”: “”,#If_empty_UCS-Computergroup=Member\Server
“timeout”: 60,
“dns_timeout”: 10,
“idmap_backend”: “RID”,
“nss_info”: null,
“ldap_sasl_wrapping”: “SIGN”,
“enable”: true,
“netbiosname”: “freenas”,
“netbiosalias”: []
}
Should you still have trouble, I’d recommend checking if your architecture requires special exceptions and perhaps follow up on this thread.
