This article will explain how to setup a connection of UCS to FreeNAS with Active Directory and accessing it under Windows.
Therefore it is necessary to have the Active Directory-compatible Domain Controller application installed on your UCS.
This Cool Solution was tested with UCS 4.4 and FreeNAS 11.2-U5.
Installing FreeNAS
First download the latest stable FreeNAS bootable installer (.iso) and follow the instructions for installing FreeNAS.
A detailed guide can be found here.
This guide will also be referenced throughout this Cool Solution with a link to the specific part of the guide relevant for the required step.
FreeNAS config
After the installation is completed, follow the instructions on the screen until you arrive at the console setup menu.
You will need to set an IP address for your system as well as the default gateway and DNS server.
To set the IP address of your system use menu option #1 and follow the steps.
Use menu option #4 to set your default gateway.
Set the DNS server with menu option #6. The DNS Server has to be a UCS Master, Backup or Slave of the domain your FreeNAS is going to join.
DNS Domain: (YOUR FQDN)
DNS Nameserver: (IP address of your UCS)
Now you should be able to access the web interface of FreenNAS with the IP address.
Connecting UCS to FreeNAS with Active Directory
To connect your UCS to FreeNAS using Active Directory you can mostly follow the User Guide.
There are a few additional configuration steps necessary.
Setting the FreeNAS timezone to allow Kerberos authentification
Match the timezone of your FreeNAS to the one of your UCS.
This option can be found on the web interface of FreeNAS under: System - General - Timezone
Also the NTP settings should be configured. Use the UCS Master as NTP server (System - NTP Servers).
Import of the UCS Root Certificate Authority
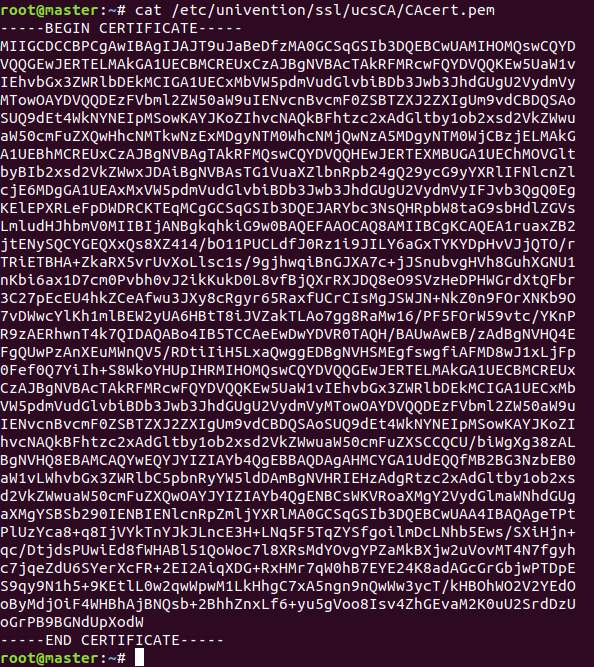
You need to import the UCS Root Certificate Authority to be able to correctly connect to the Active Directory. To get the certificate, connect to the UCS server via ssh and execute the command below.
cat /etc/univention/ssl/ucsCA/CAcert.pem
This is an example of the output created by the command.
Copy the output of the command and open the FreeNAS web interface.
Go to System - CAs and use the ADD function.
Identifier: (choose a name for the CA)
Type: Import CA
Certificate: (paste the output of the function above)
Save the Certificate Authority.
Setting the Active Directory Service
Go to Directory Services - Active Directory and enable the advanced mode by clicking the button on the bottom.
Domain Name: (your domain)
Domain Account Name: (name of the account)
Enable AD Monitoring: check
Encryption Mode: SSL (LDAPS, port 636)
Certificate: (choose the CA created in the step above)
SASL wrapping: sign
Enable: check
Complete the setup by saving.
If the settings can not be saved successfully, please take a look at the Active Directory Troubleshooting Tips.
The checkbox Disable FreeNAS Cache might also be an option to resolve the issue. A description of the settings for the Active Directory tab can be found here.
After successfully saving the settings, the Active Directory users and groups that are imported to the FreeNAS system are shown by typing commands in the FreeNAS Shell:
View users: wbinfo -u
View groups: wbinfo -g
In addition, wbinfo -t tests the connection and, if successful, shows a message similar to:
checking the trust secret for domain YOURDOMAIN via RPC calls succeeded
Setting a FreeNAS path to share with UCS domain users
To create a location on your FreeNAS that you want the UCS users of your domain to access, you need to create a new storage pool.
A new pool can be created on the FreeNAS web interface under Storage - Pools. A detailed description on how to set up the pool can be found here.
Configuring a Windows (SMB) share
The created pool can now be added to share with windows clients.
Go to Share - Windows (SMB) share, click ADD, chose the path of the pool and save.
Giving access permission to the UCS group “domain users”
In order to access and create/change files with the group domain users in your UCS domain, they have to be given permission.
Go to Shell and execute the following command:
chgrp "(YOUR-DOMAIN)\domain users" /(path of your pool)
All users of the group domain users should now be able to access, change and edit files in the previously defined storage pool on your FreeNAS.
Reference
- FreeNAS 11.2-U5 User Guide - https://www.ixsystems.com/documentation/freenas/11.2-U5/freenas.html