
Note: Cool Solutions are articles documenting additional functionality based on Univention products. Not all the shown steps in the article are covered by Univention Support. For questions about your support coverage, contact your contact person at Univention before you want to implement one of the shown steps. More picture to explain the process will be added in the future.
Introduction
It is sometimes desired to have an SCEP (Simple Certificate Enrollment Protocol) server in one’s domain to streamline the certificate enrollment process on managed devices, so an administrator can automatically enroll every managed device for a client certificates without requiring any end user interaction. Unfortunately, this isn’t directly supported by UCS, so an extra Windows server has to be used in conjunction with UCS (in this instance Windows Server 2022)
Prerequisite
To successfully connect a Windows Server 2022 to a UCS system and set up an SCEP certificate server, certain prerequisites must be met.
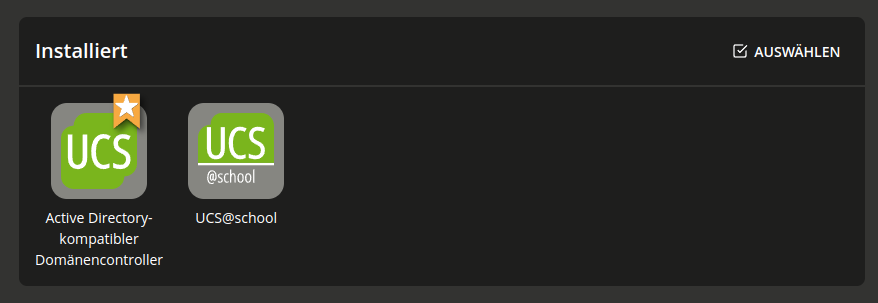
Firstly, Samba needs to be installed on the UCS system. For this purpose, the Active Directory-compatible domain controller package available in the Univention App Center is suitable. This allows for the integration of the UCS system into a Windows domain structure and ensures that the Windows Server 2022 can be integrated into the UCS system.
Furthermore, UCS@school can also be additional installed from the Univention App Center if this Setup will be used in a school environment. This package extends the UCS system with special features for use in educational institutions and enables easier management of user accounts, groups, and computer objects.
A Windows Server 2022 is also required, on which the initial setup has been completed. For this purpose, all necessary basic prerequisites must first be met, such as a functioning network connection.
Joining a Windows Server as a member to the UCS domain
Pre-registering the Windows Server in UCS Before the Windows Server can be integrated into UCS, it needs to be registered in the system. For this purpose, we will use the Univention Management Console (UMC) and navigate to Devices > Computers.
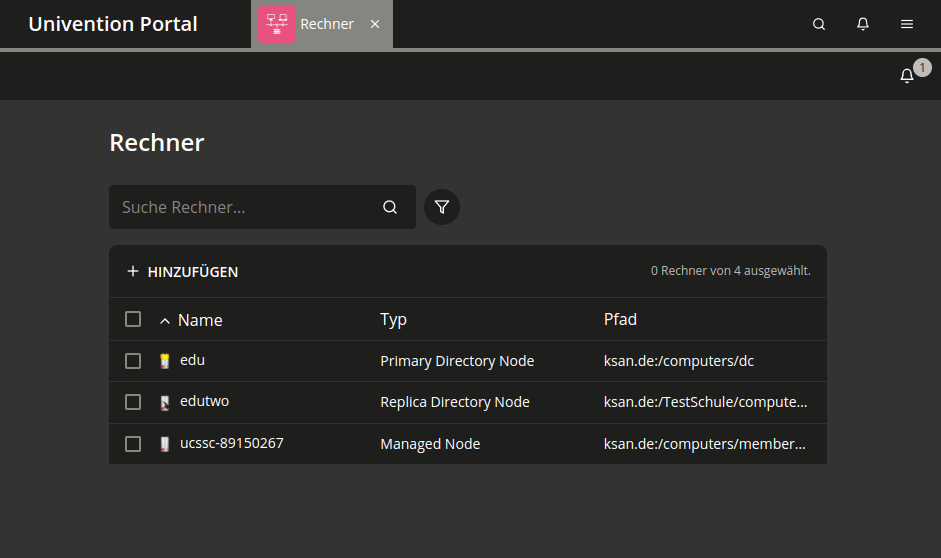
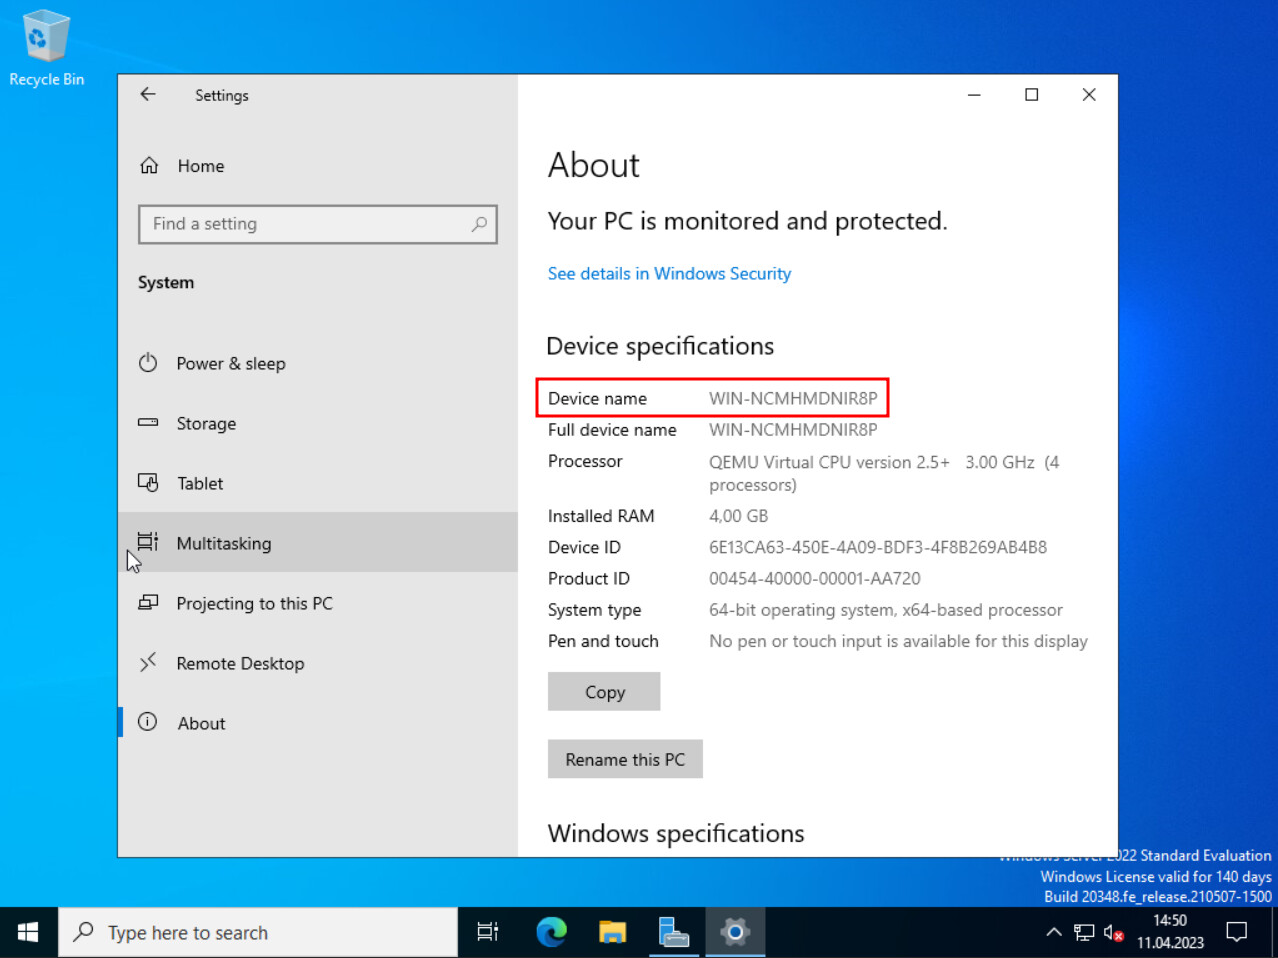
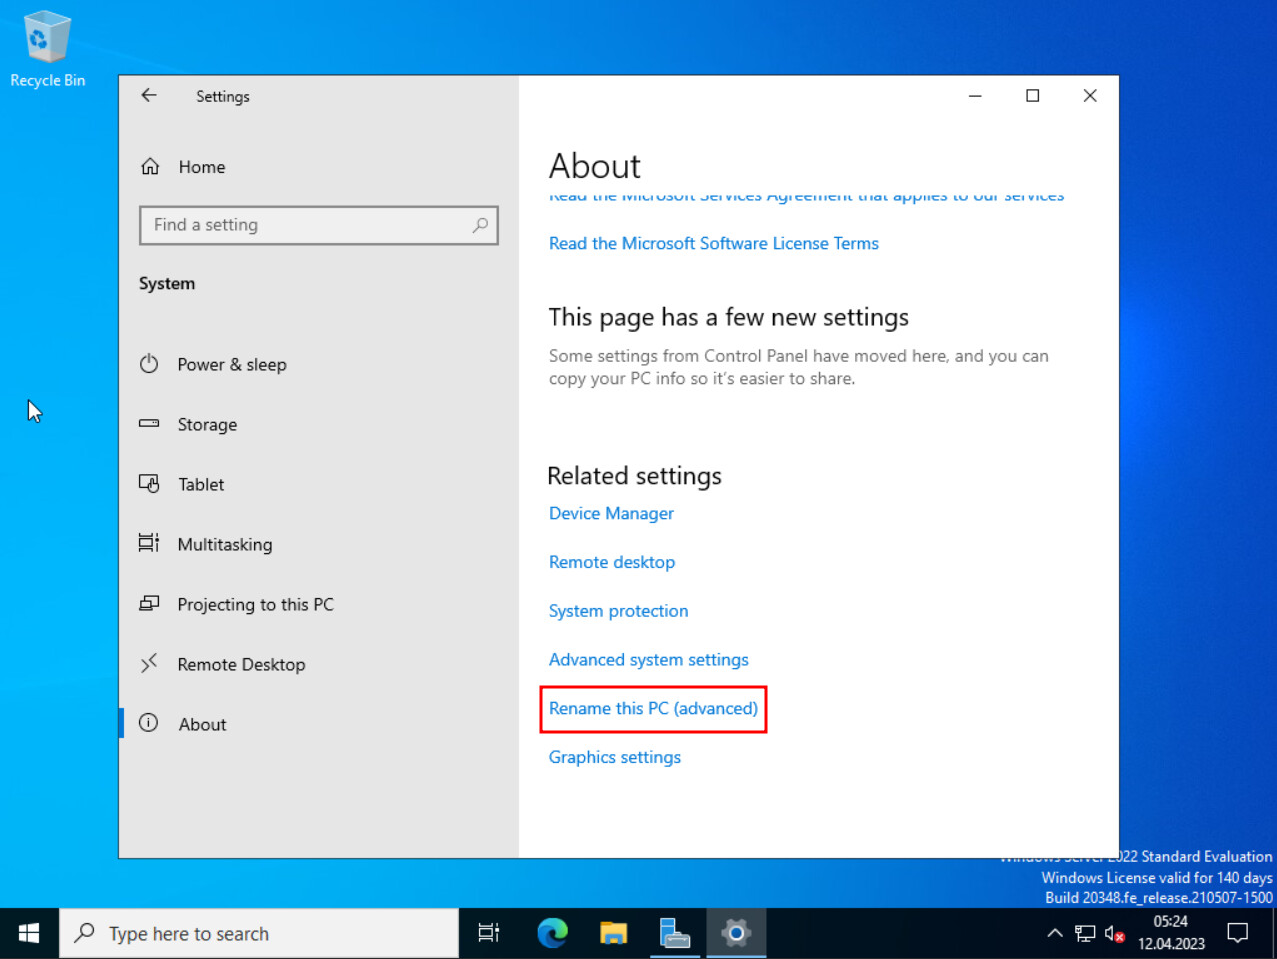
There, we click on “Add,” select the type “Computer: Windows Workstation/Server,” and click “Next.” In the next step, we enter the name of the Windows Server, which can be found under Settings > System > About.
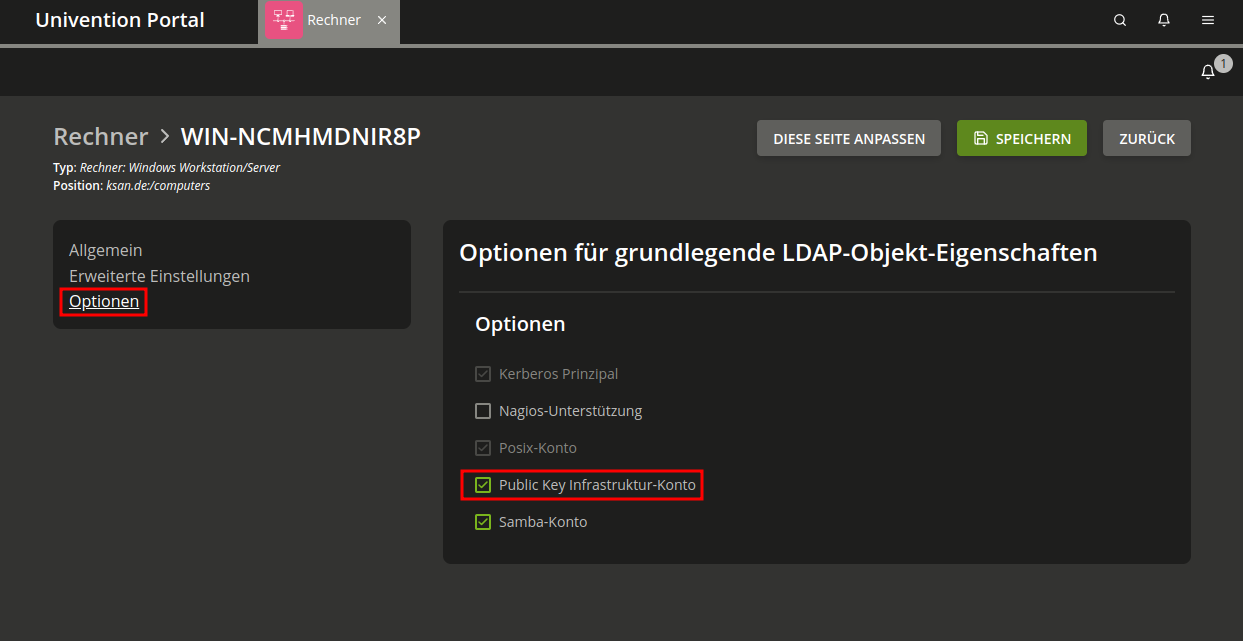
Next, we set the network to “default,” enter the IP address of the Windows Server, and click on “Create Computer.” Finally, we select the newly created computer and click on “Edit.” On the “Options” page, we check the box for “Public Key Infrastructure Account” and save the changes.
Joining the Windows server to the domain
To join the Windows Server to the domain, follow these steps:
- Go to “Settings” > “System” > “About” > “Rename this PC (advanced)” > “Change”.
- Switch from “Workgroup” to “Domain” and enter the appropriate domain in the field.


Installation of the SCEP certification server
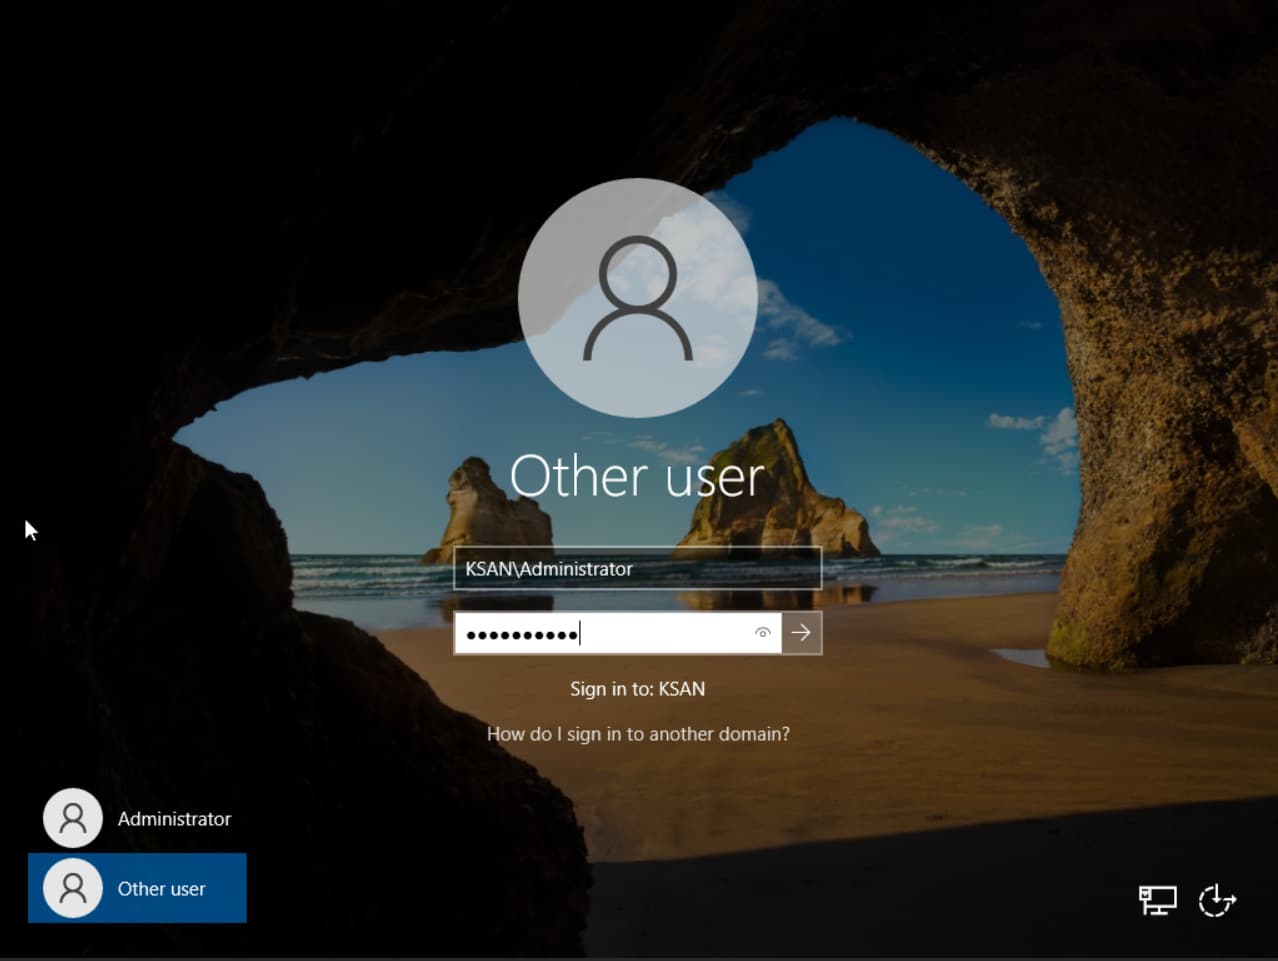
Now you need to log in with the administrator account of the UCS domain. To do this, enter “DOMAIN\Administrator” in the username field during login.
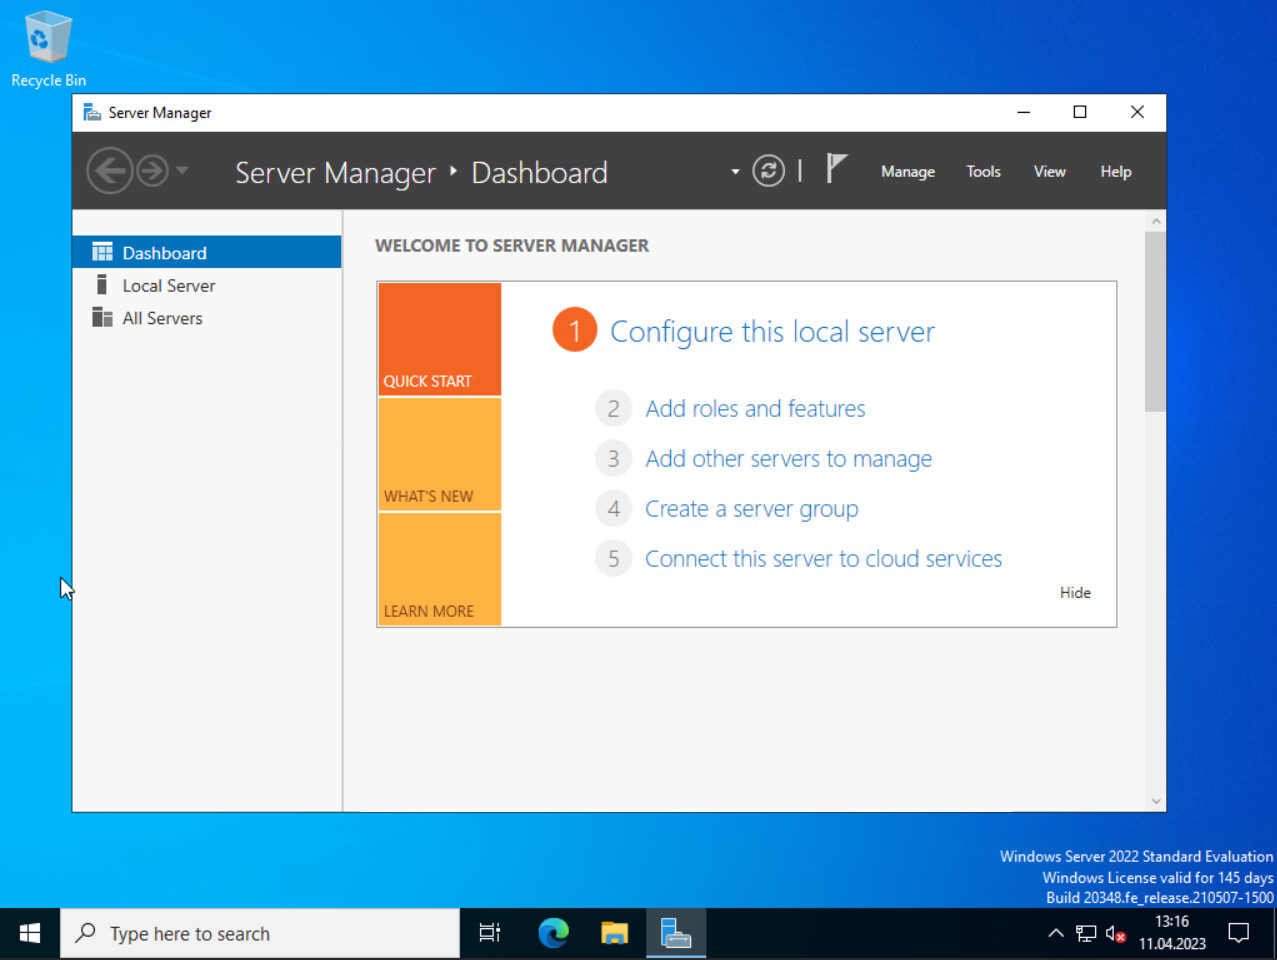
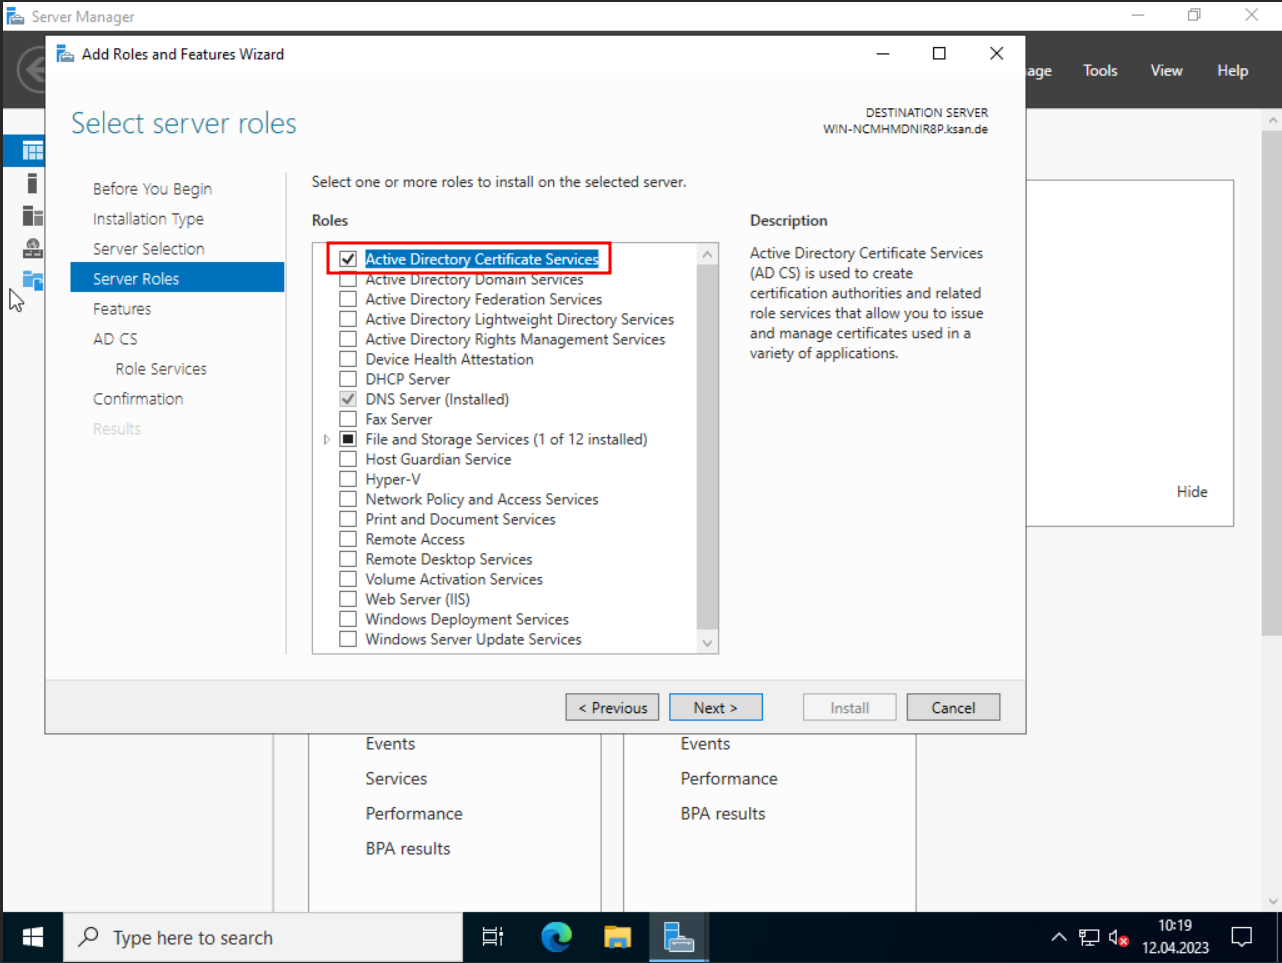
After logging in, in the Server Manager app, click on “Manage” in the top right corner, then select “Add Roles and Features”. Continue until you reach the Server Roles page, and here, check the box for “Active Directory Certificate Services”
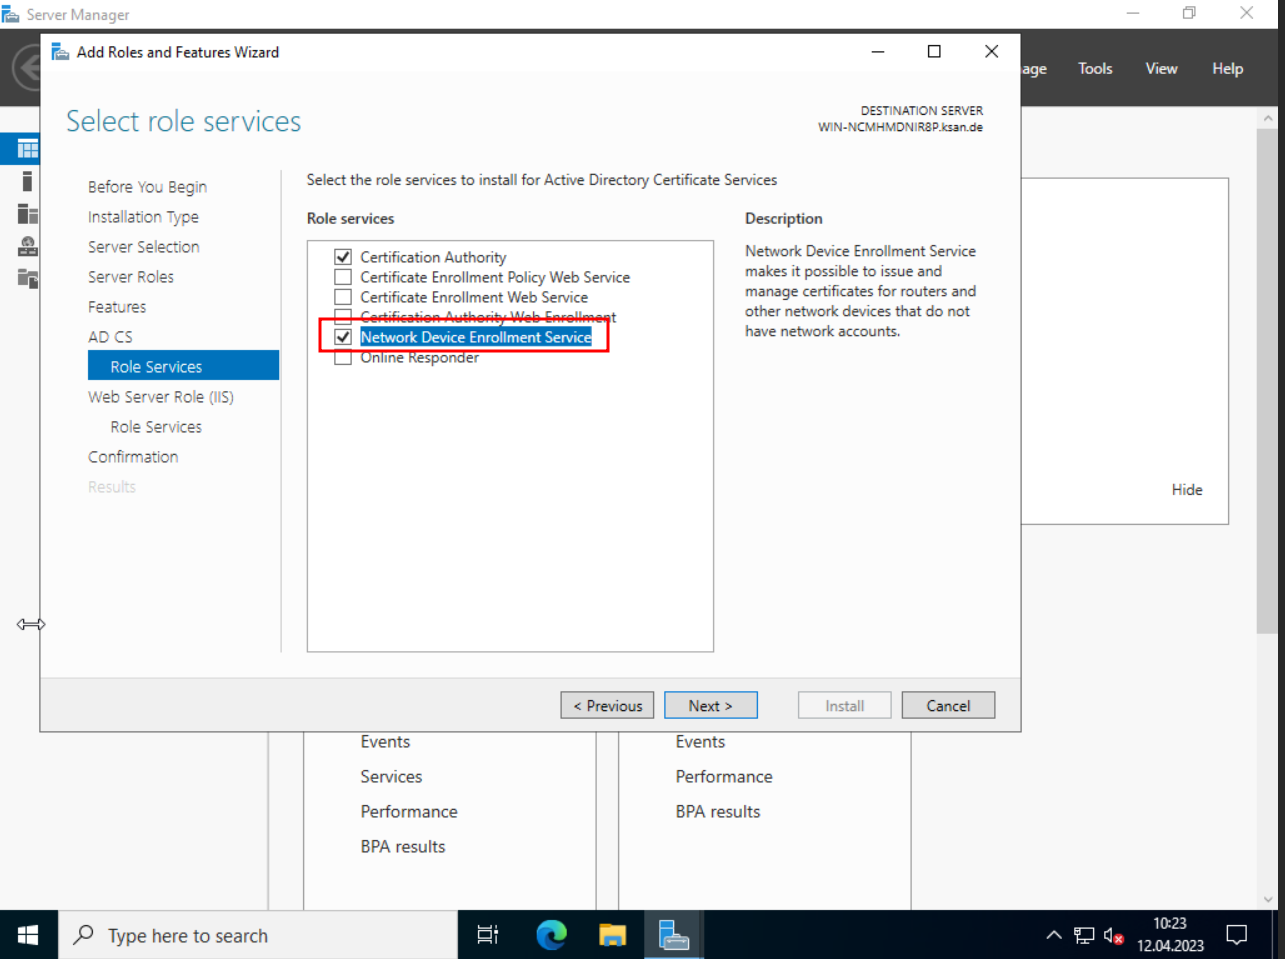
Afterwards, continue clicking until you reach the Role Services page, and there, in addition to Certification Authority, check the box for Network Device Enrollment Service.
- Proceed with the installation by clicking “Next” and then “Install.” Wait for the installation process to complete.
- Once the installation is finished, open the Certification Authority console. In the left-hand navigation pane, expand the tree view and select the subordinate CA server.
- Right-click on the subordinate CA server name and select “Properties.”
- In the Properties window, go to the “Extensions” tab. Ensure that the checkbox for “Enable Certificate Templates” is checked.
- Click on the “Add” button to select the certificate templates to be used for SCEP enrollment. Choose the desired templates and click “OK.”
- Go to the “Policy Module” tab and click on the “Properties” button.
- In the Policy Module Properties window, select the checkbox for “Enable certificate and key archival.”
- Specify the location where the certificate and key archives will be stored.
- Click “OK” to save the changes and close the Policy Module Properties window.
- Close the Certification Authority console.
Configuring SCEP Enrollment on Windows Server 2022
- Open the Server Manager application on the Windows Server 2022.
- In the left-hand navigation pane, expand the “Tools” menu and select “Internet Information Services (IIS) Manager.”
- In the IIS Manager, navigate to the subordinate CA server node and select “Authentication.”
- Enable “Windows Authentication” and “Client Certificate Mapping Authentication” if they are not already enabled.
- In the IIS Manager, select the “Default Website” and open the “Authentication” feature.
- Disable “Anonymous Authentication” and enable “Windows Authentication” and “Client Certificate Mapping Authentication.”
- Select the “Request Filtering” feature and open the “Edit Feature Settings” option. Enable “Allow double escaping” to allow certain characters in SCEP URLs.
- Close the IIS Manager